Table of Contents
Overview
This wheels Search Magento 2 Installation guide helps you to install this module in your magento 2 website. This extension helps the website customers to search the tires quickly using input parameters are to select the width, height, diameter, Manufacturer, Type and Season. Then find desired products of their interest to order.
How to Install wheels Search Extension ( Magento 2 )
Instructions to upload extension package
1.It is recommended to take a backup of the Magento files before replacing
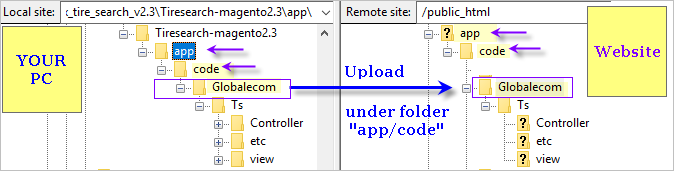
2. Unzip the extension package in your PC. Then upload the folder to your website in Magento 2 Installation directory as shown below:
3. Login to SSH and open Command line (using putty or similar tool)
4. Go to magento installation folder (usually this is public_html) and run commands below:
a) Enable module:
php bin/magento module:enable Globalecom_Ts
b) Run upgrade:
php bin/magento setup:upgrade
c) Run compilation:
php bin/magento setup:di:compile
d) Deploy static content: (optional)
php bin/magento setup:static-content:deploy
Steps to be followed in admin panel to setup attributes(multiselect or dropdown)
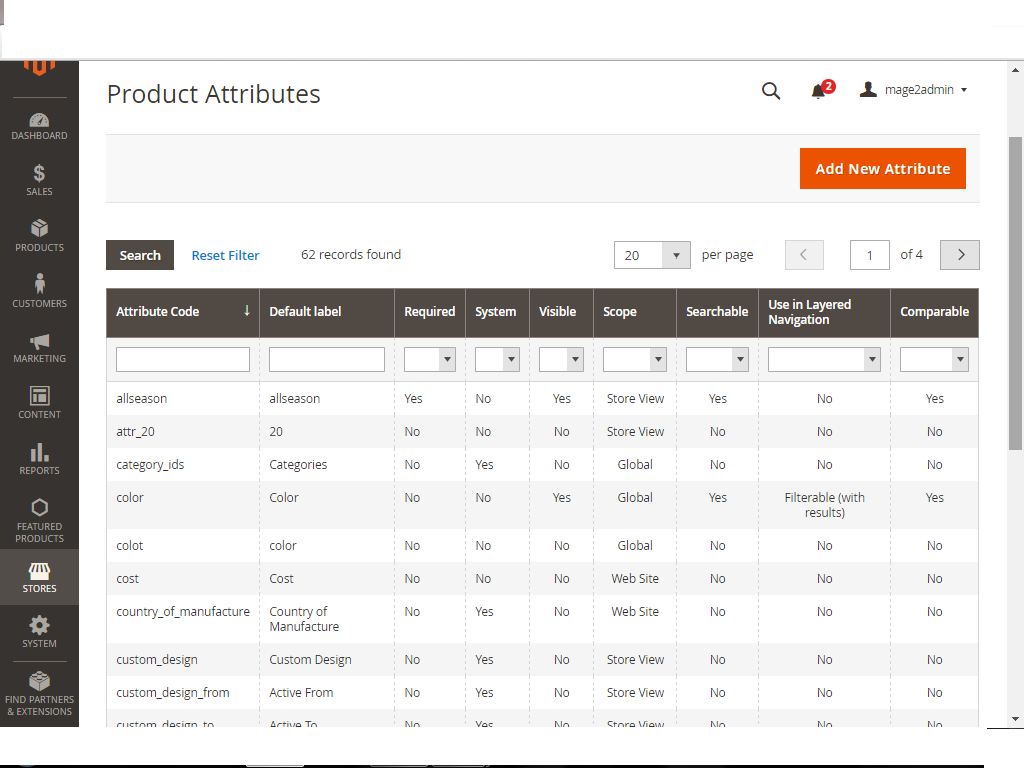
Step 1: Create Attribute
Stores -> Product->Add new Attributes
Enter Atttribute data as follows
Click Add attributes button
Create attribute “wheels” like below the
Follow the instruction for create “w_diameter” attribute code,
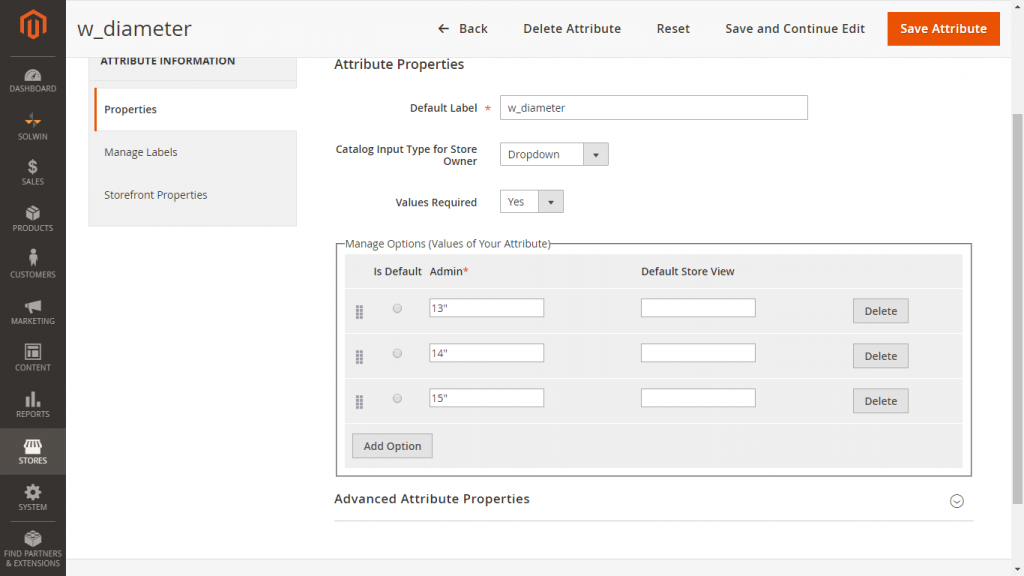
Default Label: w_diameter
Attribute code: w_diameter
Use in quick search =>Yes
Search Weight => 1
Visible in Advanced Search =>Yes
Allow HTML Tags on Storefront =>Yes
Visible on Catalog Pages on Storefront =>Yes
Used in Product Listing => Yes
Used for Sorting in Product Listing =>Yes
Similarly Create attributes “w_width”, “w_bolt”,“w_offset_min”,“w_offset_max”,“w_hub_bore_min”
Note:- It should be “w_width”, “w_bolt”,“w_offset_min”,“w_offset_max”,“w_hub_bore_min”
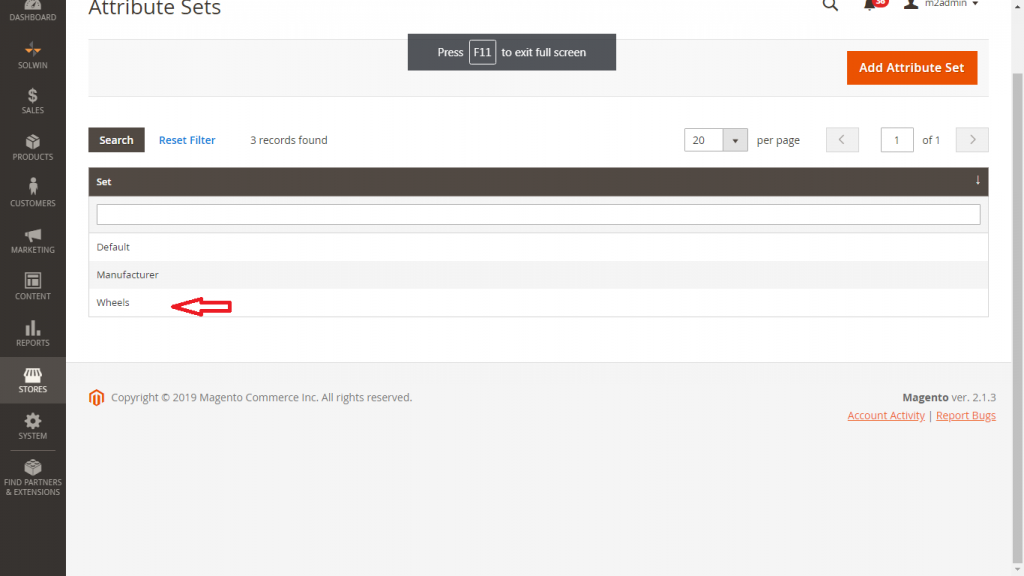
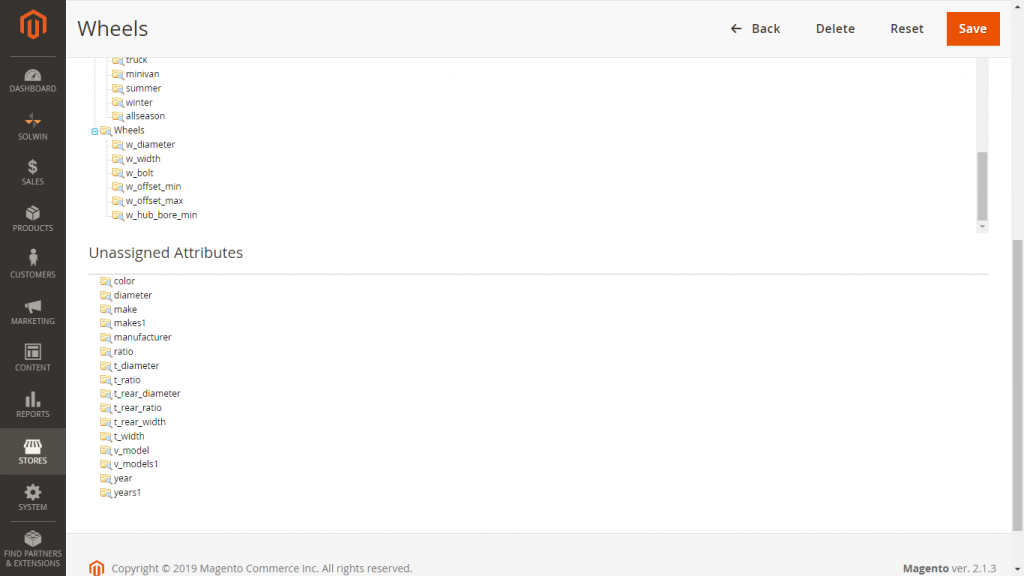
Step 2: Assign attributes to Attribute Set
Then Click the button Add New Groups .Please enter the group name “wheels”
A group will be created at the end you can drag and drop to your respective location and save.
Step 3: Add wheels search data to products:-
Products->Catalog->Add product
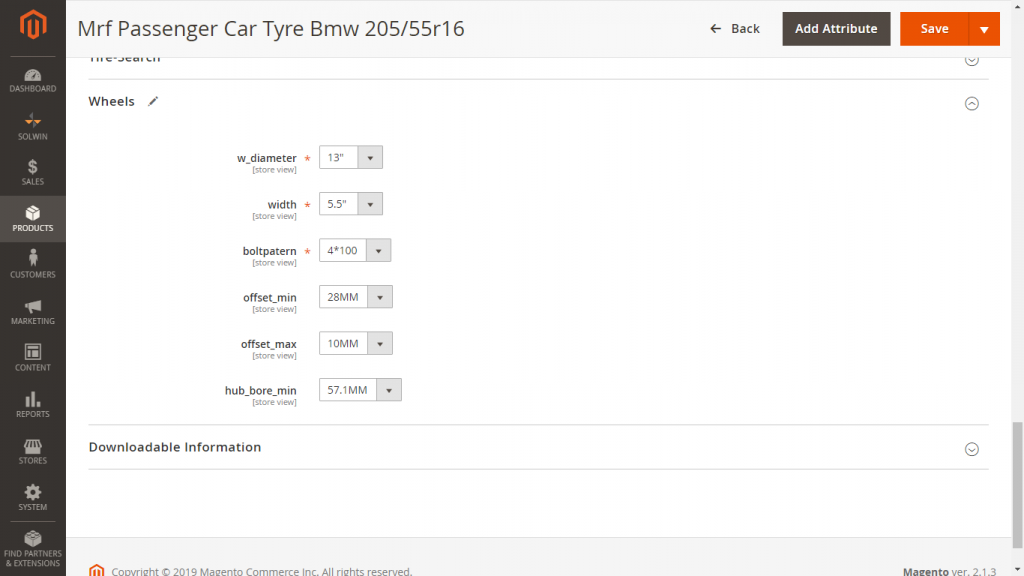
You can find a new tab Wheels search on the left side. Fill in all the required details and assign the product to a category as needed.
Note: “w_width”, “w_bolt”,“w_offset_min”,“w_offset_max”,“w_hub_bore_min” can take Dropdown values if the product has several vehicle fitments. Please select Dropdown format.
Step 4: Add a new page for wheels search
Content-> Pages -> Add New Page
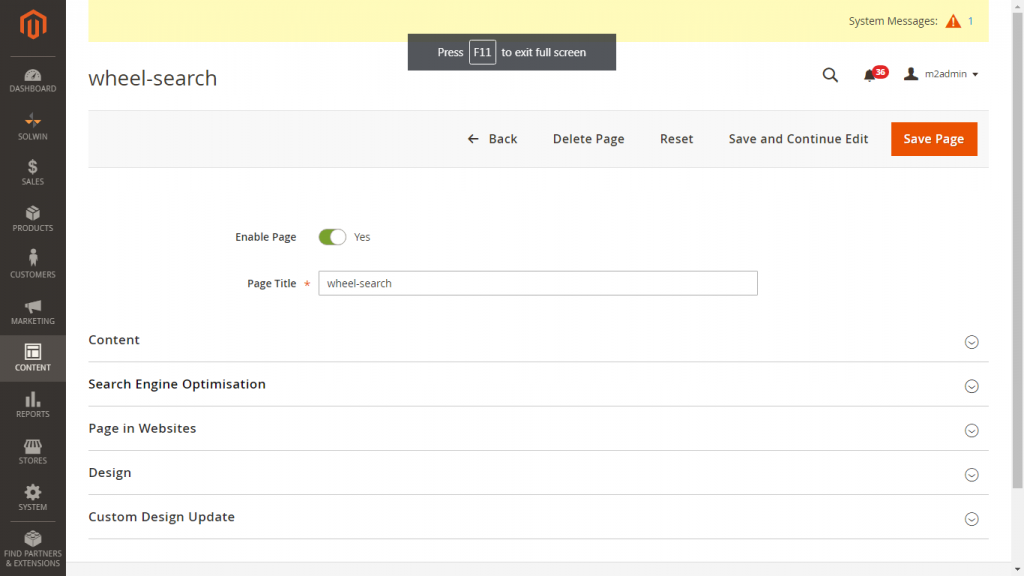
wheel-search :-
Page Title: wheel-search
Self URL: wheel-search
Status: Enabled
Content:
{{block class=”Magento\Framework\View\Element\Template” name=”catalog.product.tiresearch” template=”Globalecom_Ts::product/wheel-search.phtml}}
Note: URL should be wheel-search
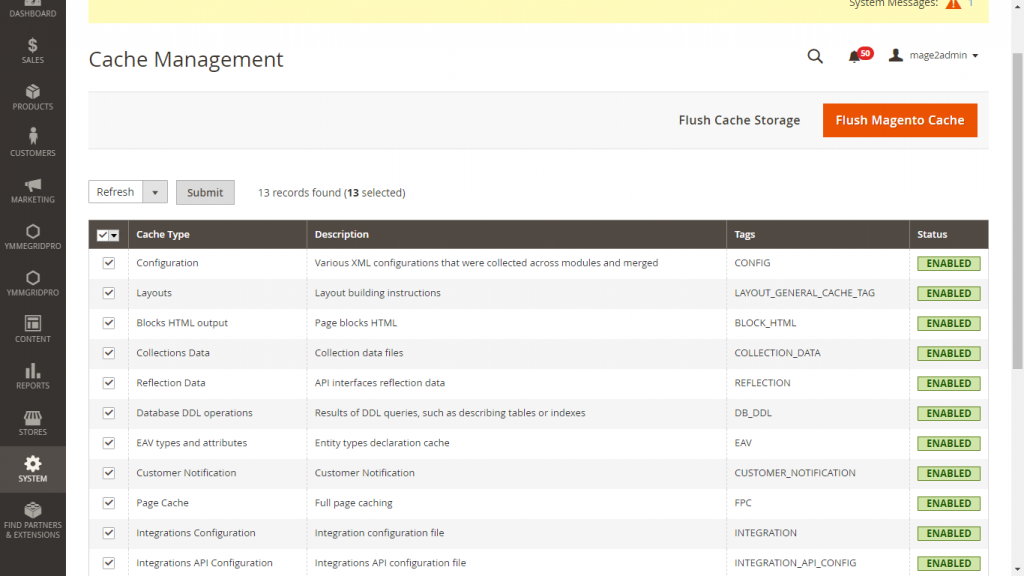
Step 5: Refresh Magento cache.
Admin Panel – System – Cache Management – Select all Check boxes – Flush Magento Cache
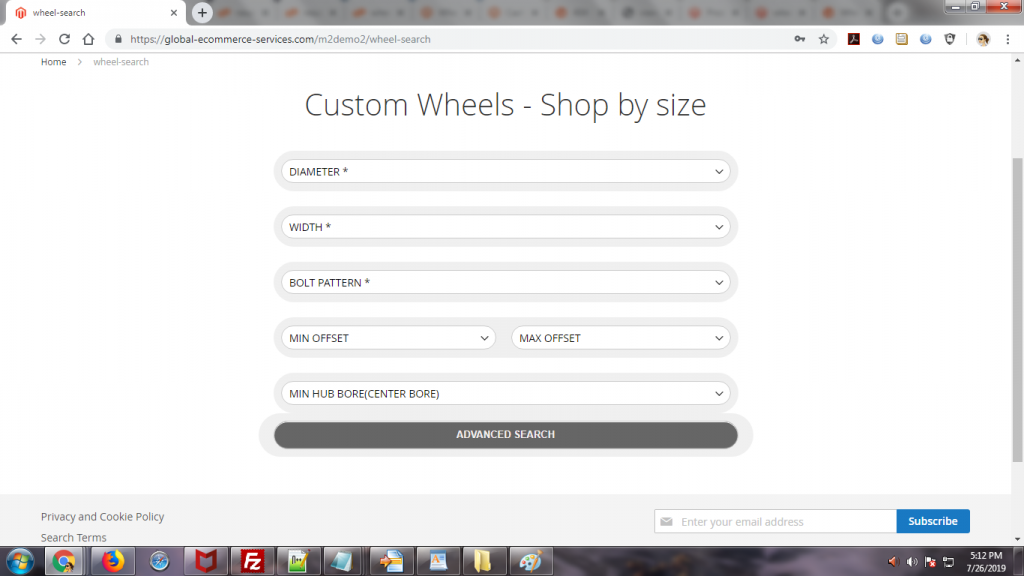
Step 6: Test the CMS page.
You can view the cms page url http://<your website>/wheel-search
How to uninstall the Brand Model Search Magento 2 Installation
Please follow the instructions for how to uninstall Wheelserarch Extension and remove from your website.
Step 1: Go to the location app/etc/config.xml
Find the line of code ‘Globalecom_Ts’ => 1,
and change it to ‘Globalecom_Ts’ => 0,
Step 2: Remove the “Globalecom” folder under app/code on Magento root.
Step 3: Remove the file wheel-search.phtml in the following location.
Vendor/magento/module-catalog/view/frontend/templates/product folder
Step 4: Refresh the Cache in admin panel ->System->Cache Management
Need Support or Questions
If you have any questions or need to solve issues, please contact our technical support team via http://mage-extensions-themes.com/support/
Support levels: Ticket system, Skype, Phone and Email